From time to time a new discovery can lead you off on a tangent that seems to go on forever. Whilst browsing through the SJM website I came across something I’d not heard of before. That discovery was a bogie kit from Stephen Johnson Models of an 1890’s ‘Passenger bogie’. My first thought was why the ‘’? Then the rabbit hole beckoned! Out with the books and then reading, reading, reading.
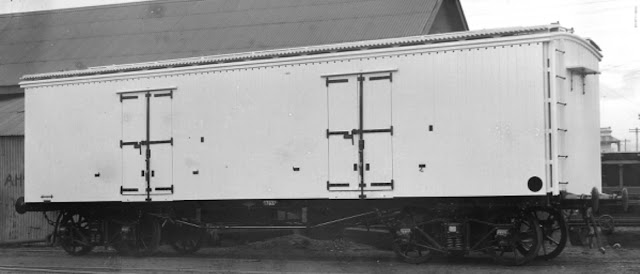
I’ve only been able to find a couple of photos online of the BRC wagons, and this one is another variation of them. The door locations are similar, however this one has roof hatches. A different batch, different builder, and an evolving design. I will post photos of the model as I go.
A chance flick through the pages had me come across the early refrigeration vans, and in particular the BRC vans. In the description there was a reference to the bogies being ‘passenger’. There it was! I was hooked. Some further reading and the variations between orders and development of the type of wagon certainly had me thinking that this could be a scratchbuilding project worth pursuing. It has been such a long time since I’d scratch built anything, I was ready to have a crack at this one. At the same time, in my head, a little voice was saying ‘what about the BSV’s?’ Yep, I hear ya, next time for sure!
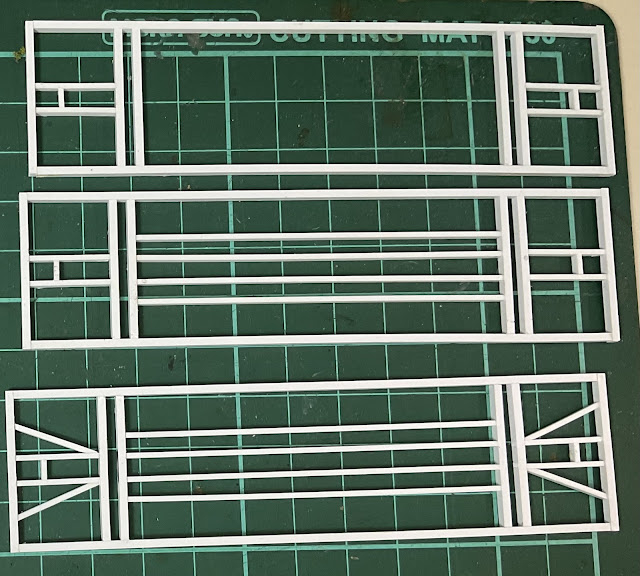
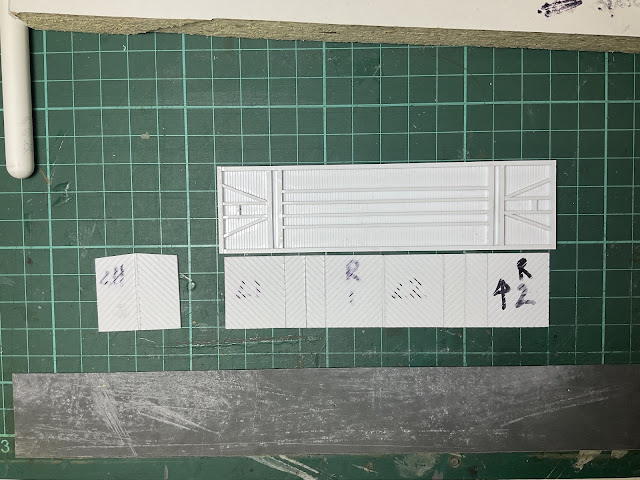
There were two main variants that took my fancy as they both had the same under frame. There was a vertical boarded version and a herringbone boarded version. I thought I could start with two of each and see how I go.
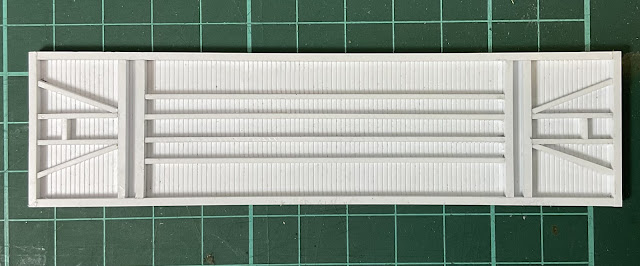
Here’s a photo of the progression of the under frames, all held in the jig in this next photo, then the underfloor is added, as can be seen, next.
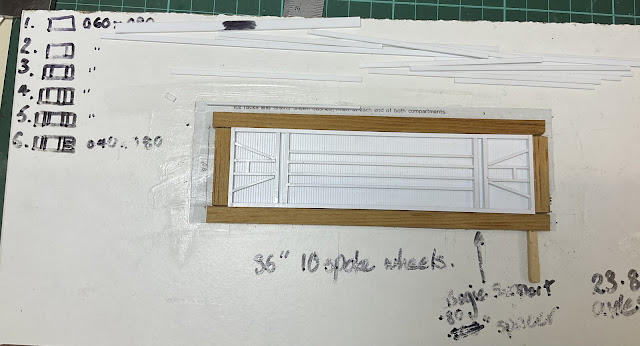
The under frame was fairly simple, however I would need a couple of jigs to get things moving, of course, where would I be without a jig? The longitudinals were a bit of an issue, as the styrene I was using kept flexing if they were even a little bit too long. To aid in keeping the ends square a very handy tool I’ve used a lot for this project is the ‘true sander’. It allows a square end to be maintained as you sand, great for a project like this.
The floor would be glued on top of the chassis, with the plan to have it act as a form for the vertical sides of the body to align against. That means that it is 1mm in from the top edge of the chassis.
I’m wondering if I should get some Pinksil and cast this before I go any further, well at least before it goes together. It’s taken me so long to get to this stage, I am considering it, just so I can complete more as I require, especially of the herringbone sided body as it’s going to be just so fiddly to get one right.
Next up I have to look at the underside plan for plates and bolts, and see if there’s any real benefit in doing these as well. Out with the plan! You know, for the size of the plates, and bolts, I’m not sure that there’s any benefit of adding such fine detail to the underside of a wagon. If I do cast this, then for the sake of completing one, it may well be worth adding the extra detail, more to think on for sure.
Very nice, Geoff. I've got a few shots of BRC's if you want them
ReplyDeleteHi Rob, i would gratefully receive any photos you have, thank you! There were so many different builds and modifications, and indeed complete changes in theory behind the designs, you can not have too many photos, that’s for sure!
DeleteGeoff.