If you were to look back at any of my railway blogs you would be able to find from time to time comments about returning, or finding mojo, or re evaluating the hobby, or a change of scale or location. At the end of the day, and indeed this one being the 31st of December counts as timely, there is always an opportunity to reset, to put aside all other missteps or false starts, and begin again, the eternal beginner. I’ve always thought that to being open to new ideas or new ways, but maybe it is just the control/alt/del key we sometimes need in model railways.
So here’s to new starts, new plans, new kits, new ideas!
Happy Hogmanay!

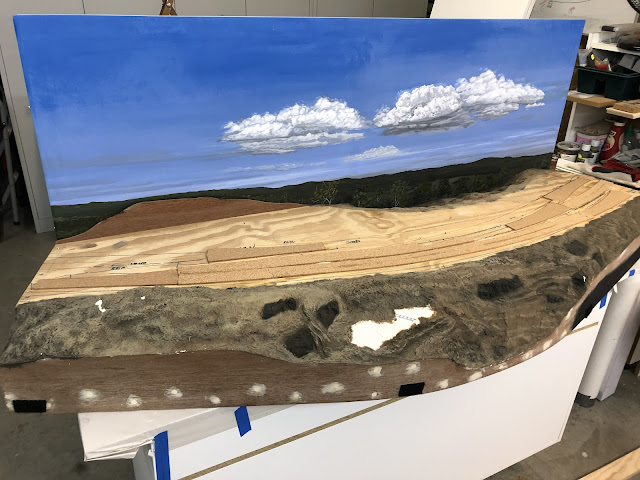
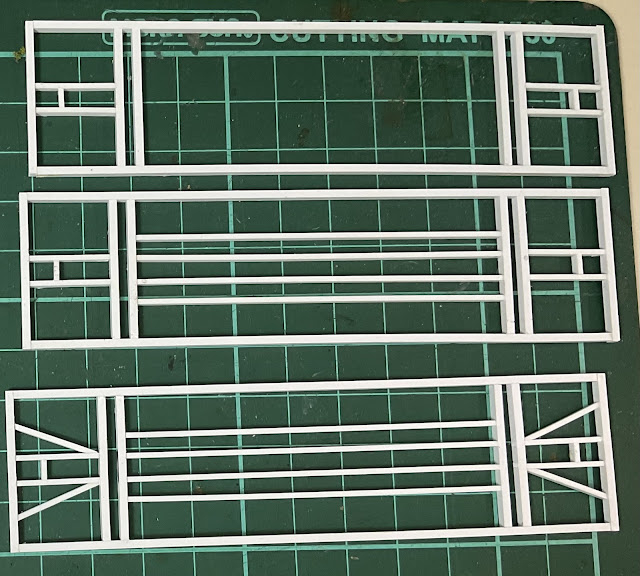
Did you think that was it? Well yes it is mostly, but I did want to begin talking about what I’ve decided to do with HH. That is what is left of it. That being buildings that have been started then put aside, and plans that have been rehashed to accomodate the limited space I have, and that ever present requirement of being transportable.
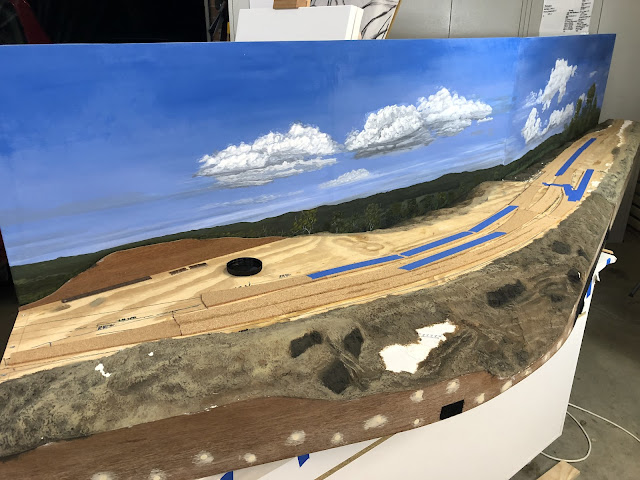
The yard has been straightened out, mostly, to better work with the movement of trains through and during shunting, however there is a major change to the shape of the layout, with it now probably being point to point, and with the addition of the townscape onto a new module. Then there’s the track work, I’ve decided to do a bit of hand laid to see how it goes, for many reasons, the two most important being, the finished product, and enjoying and being immersed in a process. Nothing worth showing yet, however the plans are complete, and motivation is high.

So ready, steady, go! It’s 2025! (Almost, or as good as) let’s set a small target, and get there. Use a small one to build your confidence and refine the skills you may not have used for a bit( my hand is up) find new ways to motivate yourself, go to running session, see what others are doing, find an online forum you like, but most of all keep moving forward.
So my commitment is to more posts than one a year, and recording of what I’m currently doing as a motivation for doing more.
All the best, Geoff.